ROBOTICS INSECT ( CoR0Na )
- Yan Shin Aung
- Feb 16, 2020
- 3 min read
Updated: Feb 17, 2020
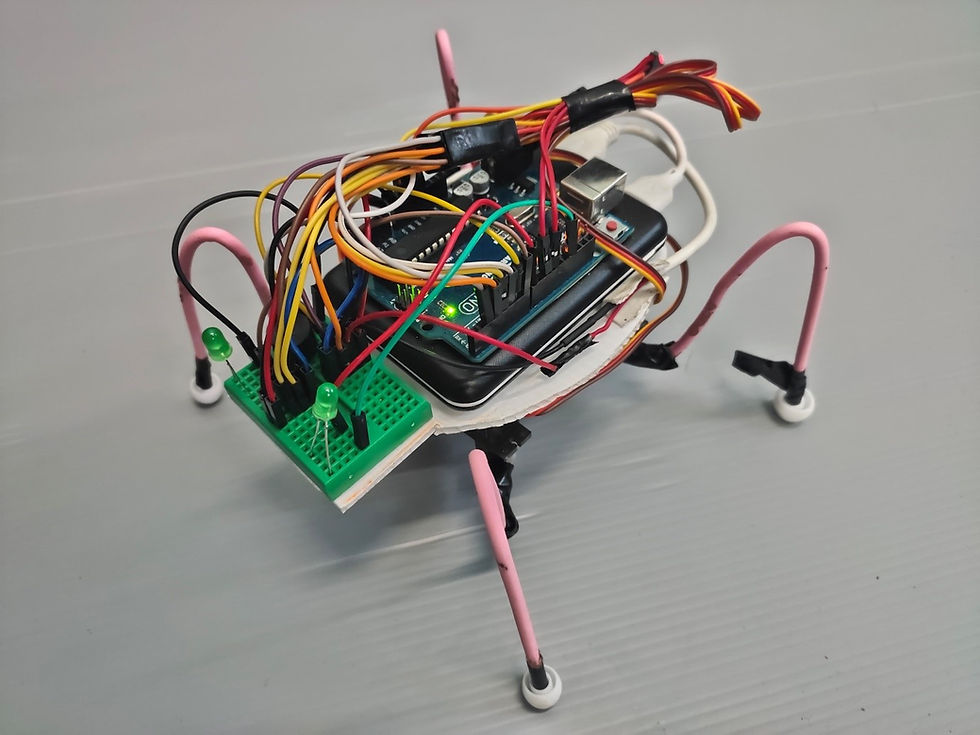
Step 1: MATERIAL REQUIREMENTS
1. Arduino UNO
2. Four Servos
3. HC-06 (Bluetooth)
4. Buzzer
5. Power Bank
6. Two LEDs
7. Wire Jumpers
8. Breadboard
9. Steel that can be bent to make legs
10. 9V Battery
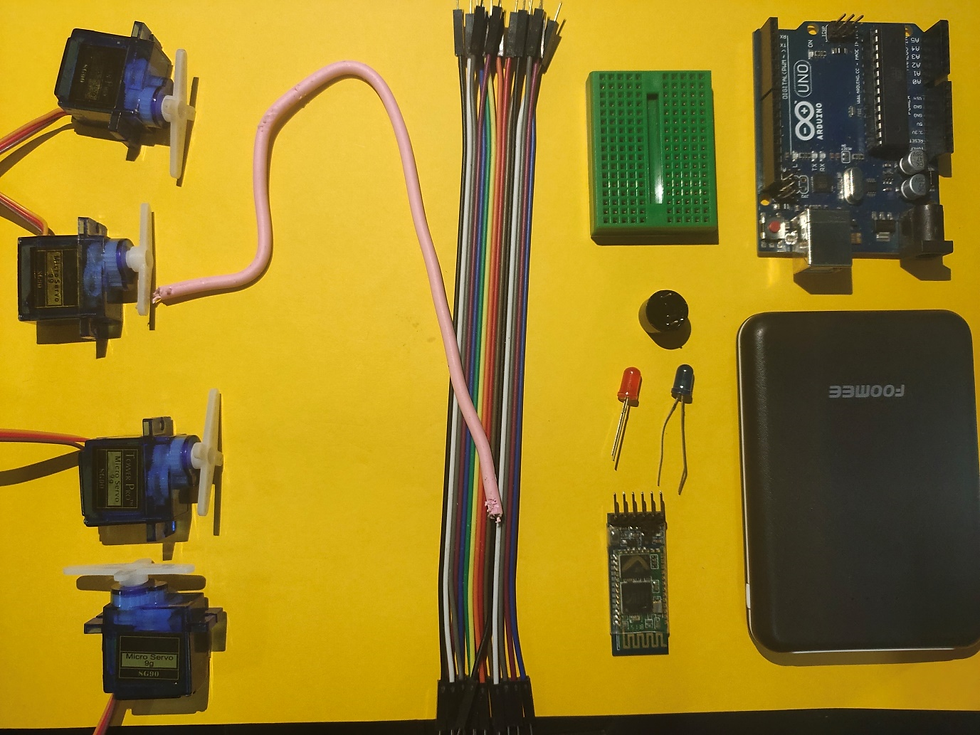
Skills Required for this project are:
1. Basic knowledge of electronics and arduino.
2. Knowledge of the movements of four or six legged insects.
Step 2: Circuit Diagram
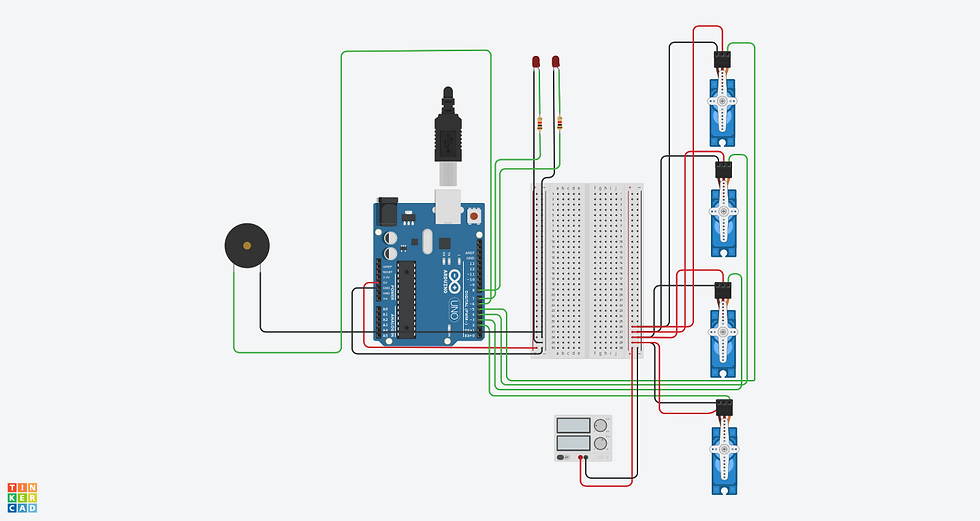
1. Gather and collect the required items above we mentioned. Hardware is illustrated in circuit diagram.
2. Download the servo library from Arduino website and add.(After adding, restart IDE)
STEP : 3 HOW DOES IT WORK?
Four servos will move into the direction that is controlled by Bluetooth controller application in mobile phones. If we want to make insect move forward, we have to press 'F' , 'B' for backward, 'R' for right, 'L' for left, 'S' for LEDs and 'Z' for Buzzer to make sound.
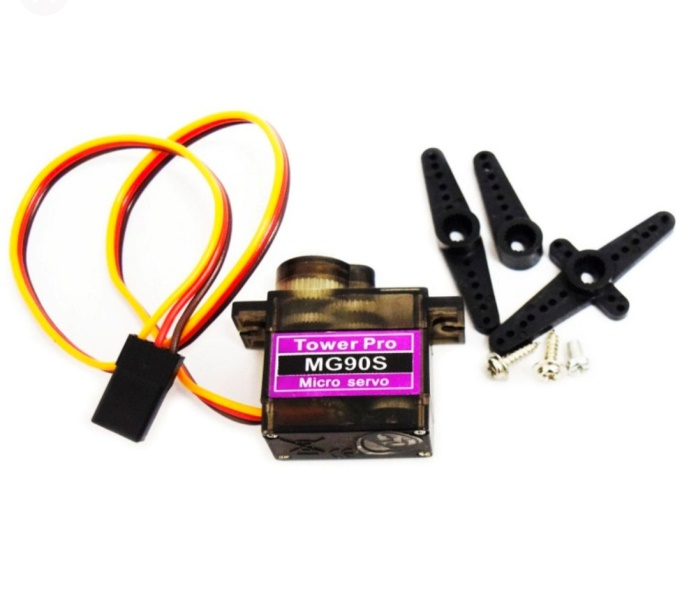
SERVOS have integrated gears and a shaft that can also be precisely controlled. Standard servos allow the shaft to be positioned at various angles, usually between 0 and 180 degrees. Servo motors have three wires: power, ground and signal. The power wire is typically red, and should be connected to the 5V pin on the Arduino board. The ground wire is typically black or brown and should be connected to a ground pin on the Arduino board. The signal pin is typically yellow, orange and white and should be connected to a digital pin on the Arduino board.
Note: servos draw considerable power, so if you need to drive more than one or two, you'll probably need to power them from a separate supply ( i.e. not the +5V pin on your Arduino). Be sure to connect the grounds of the Arduino and external power supply together.
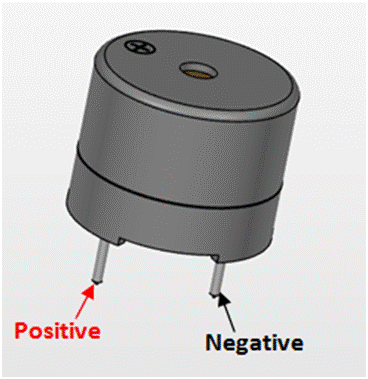
A BUZZER is basically a tiny speaker that you can connect directly to an Arduino. From the arduino, you can make sounds with a buzzer by using tone. You have to tell it which pin the buzzer is on, what frequency (in Hertz, Hz) you want, and how long (in milliseconds) you want it to keep making the tone.
LEDs (light emitting diodes) have two nodes; anode and cathode. It can be connected to ground pin in Arduino with cathode and 5V with anode using resistor.
STEP 4: The Code
#include <SoftwareSerial.h>
#include <Servo.h>
SoftwareSerial blue(10,11);
Servo ser1;
Servo ser2;
Servo ser3;
Servo ser4;
int led1=7;
int led2=8;
char x;
int speaker = 6;
int frequency = 31000;
void setup() {
// put your setup code here, to run once:
ser1.attach(2);
ser2.attach(3);
ser3.attach(4);
ser4.attach(5);
pinMode(led1,OUTPUT);
pinMode(led2,OUTPUT);
Serial.begin(9600);
blue.begin(9600);
initiate();
pinMode(speaker, OUTPUT);
}
void initiate(){
ser1.write(135);
ser2.write(45);
ser3.write(45);
ser4.write(65);
}
void loop() {
// put your main code here, to run repeatedly:
if(Serial.available()){
x=Serial.read();
Serial.print("input=");
Serial.println(x);
}
char z=bluetooth();
legs(z);
antena(z);
sound(z);
}
int bluetooth(){
if(blue.available()){
x=blue.read();
Serial.println(x);
delay(1000);
}
return x;
}
void legs(char xx){
if(xx=='R'){
ser1.write(90);
ser4.write(90);
delay(500);
ser1.write(160);
delay(300);
ser2.write(90);
ser4.write(40);
delay(300);
ser3.write(130);
delay(300);
ser2.write(90);
ser3.write(90);
delay(500);
ser2.write(30);
delay(300);
ser1.write(90);
ser3.write(45);
delay(300);
ser4.write(110);
delay(500);
initiate();
}
if(xx=='B'){
ser4.write(90);
ser1.write(90);
delay(300);
ser4.write(30);
delay(300);
ser3.write(90);
ser1.write(135);
delay(300);
ser2.write(90);
delay(300);
ser3.write(90);
ser2.write(90);
delay(300);
ser3.write(30);
delay(300);
ser4.write(90);
ser2.write(45);
delay(300);
ser1.write(90);
delay(500);
initiate();
}
if( xx=='F'){
ser1.write(90);
ser4.write(90);
delay(500);
ser1.write(145);
delay(300);
ser2.write(120);
ser4.write(40);
delay(300);
ser3.write(120);
delay(300);
ser2.write(90);
ser3.write(90);
delay(500);
ser2.write(30);
delay(300);
ser1.write(90);
ser3.write(45);
delay(300);
ser4.write(110);
delay(500);
initiate();
}
if(x=='L'){
ser1.write(90);
ser4.write(90);
delay(500);
ser1.write(160);
delay(300);
ser2.write(90);
ser4.write(90);
delay(300);
ser3.write(130);
delay(300);
ser2.write(90);
ser3.write(90);
delay(500);
ser2.write(30);
delay(300);
ser1.write(90);
ser3.write(45);
delay(300);
ser4.write(110);
delay(500);
initiate();
}
}
void antena(char y){
if(y=='O'){
digitalWrite(led1,HIGH);
digitalWrite(led2,HIGH);}
else if(y=='D'){
digitalWrite(led1,LOW);
digitalWrite(led2,LOW);
}
else if(y=='A'){
digitalWrite(led1,HIGH);
digitalWrite(led2,HIGH);
delay(1000);
digitalWrite(led1,LOW);
digitalWrite(led2,LOW);
delay(1000);
}
}
void sound(char q){
if(q=='C'){
tone(speaker,frequency, 2000);
}else if(q=='E'){
noTone(speaker);
}
}
/*Made by Yaungni,KaungSet,HteinLinn,ChinChong
Insect robot with four legs*/
These are the Arduino running code for CoR0Na.
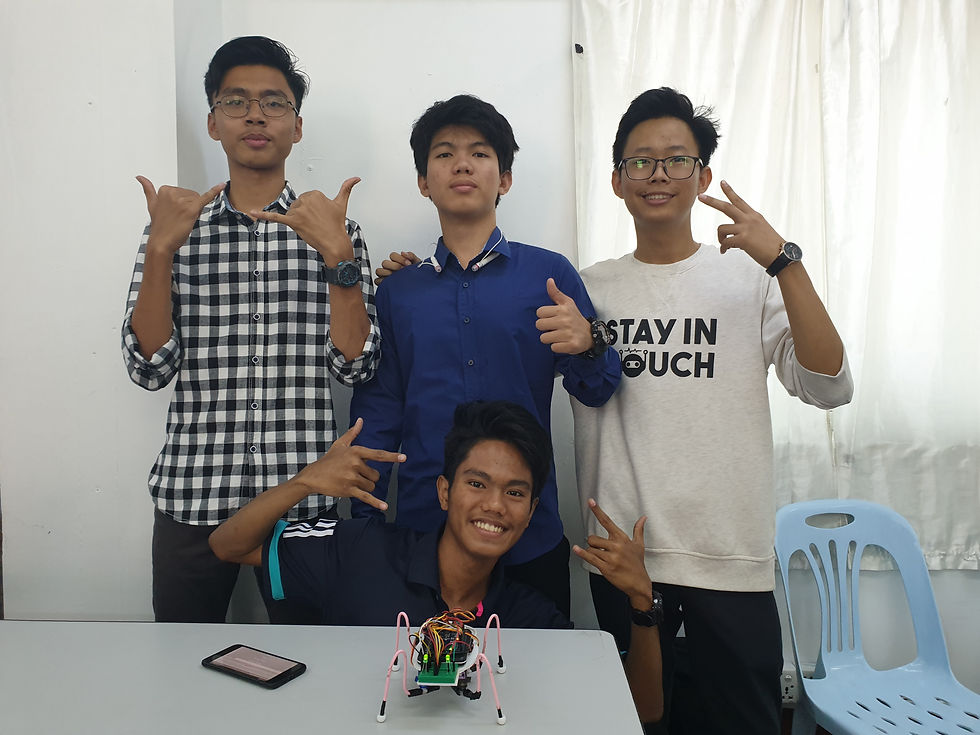
Final Result

Servos position

CoR0Na
Made by YaungNi Kyaw Phyo AungKaung Set Wai Yan Htein Linn


Comments